THREE POINT BENDING FIXTURE
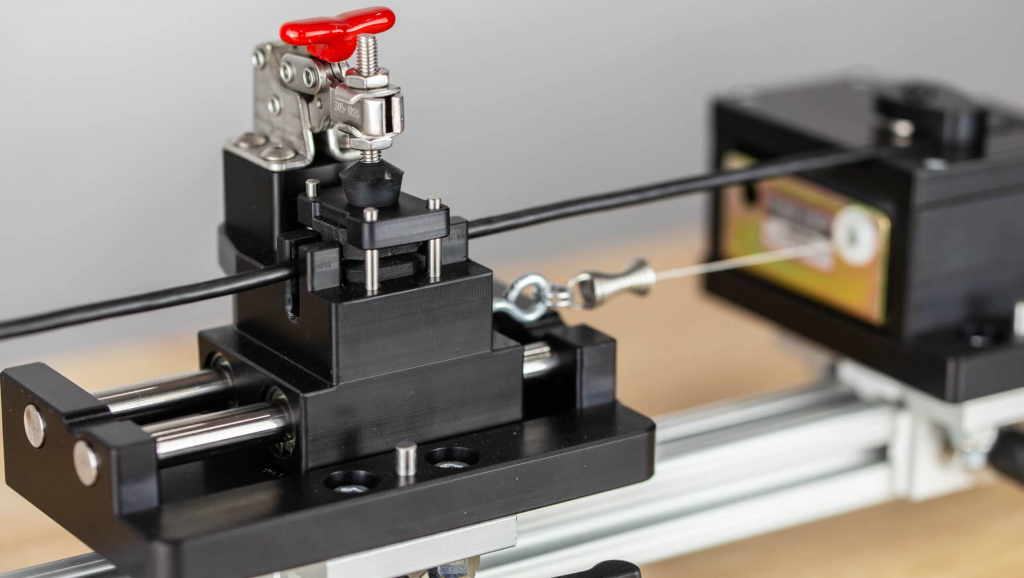
THREE POINT BENDING FIXTURE SUMMARY
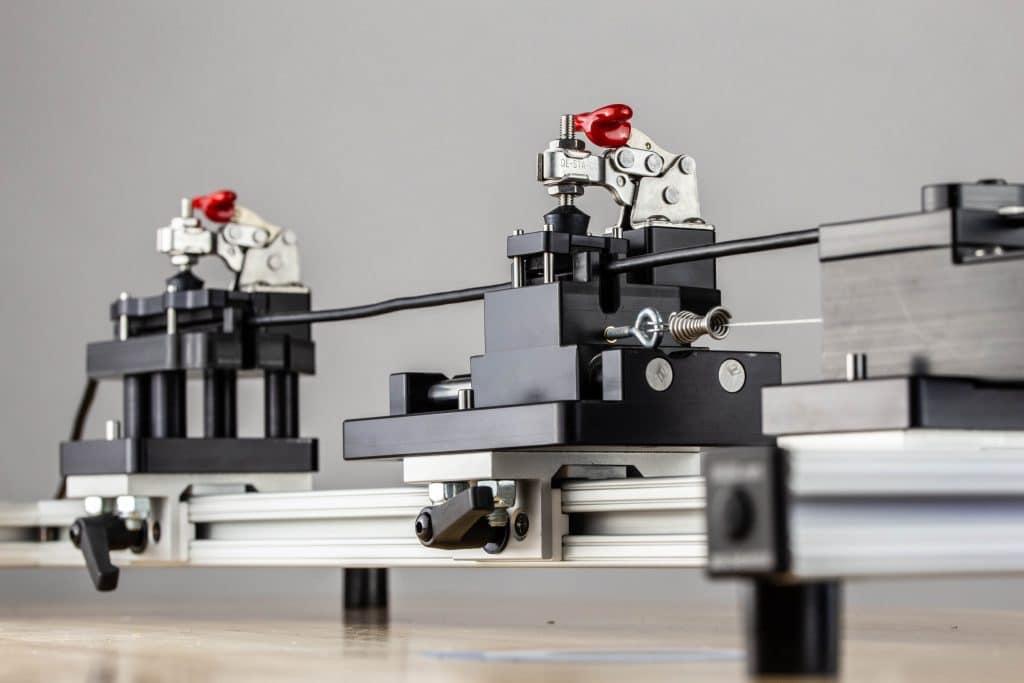
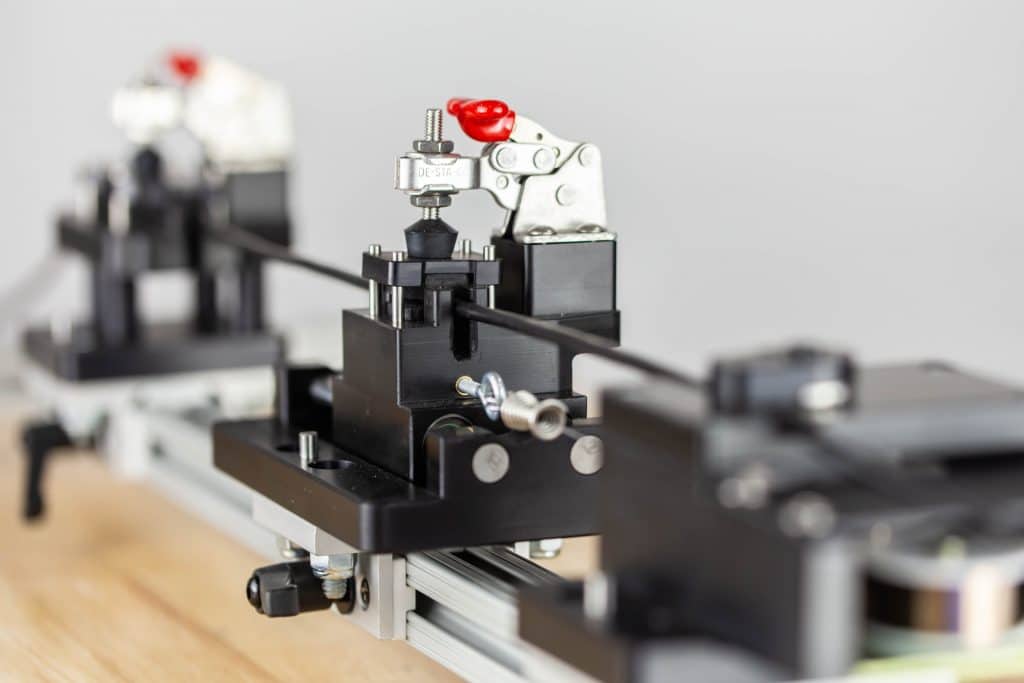
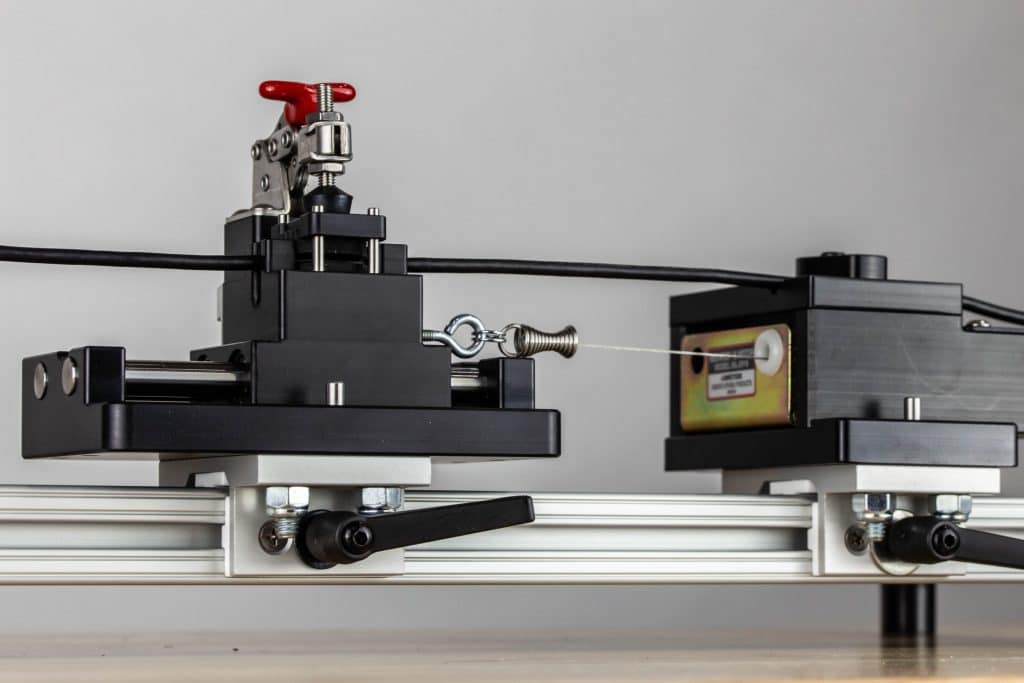
The purpose of this test fixture is to facilitate a three point bending test that allows an operator to measure the stiffness of a flexible shaft (such as a catheter shaft).
TEAM:
Mechanical Engineer, Machinist, Assembly technician
DESIGN TOOLS USED:
Solidworks
MARKET:
Medical Device Manufacturing and R&D
PROJECT REQUIREMENTS
- Device shaft shall be held horizontally under constant tension
- Device position shall be adjustable to allow for testing at various locations
- Tensioner shall be free in the lateral axis to allow float during the bending operation
- Three point bending text fixture must have high reliability and repeatability with regards to setup(s) and spacing
- Fixture shall be capable of measuring the bending force curve on multiple device shafts
SUMMARY OF ACTIVITIES
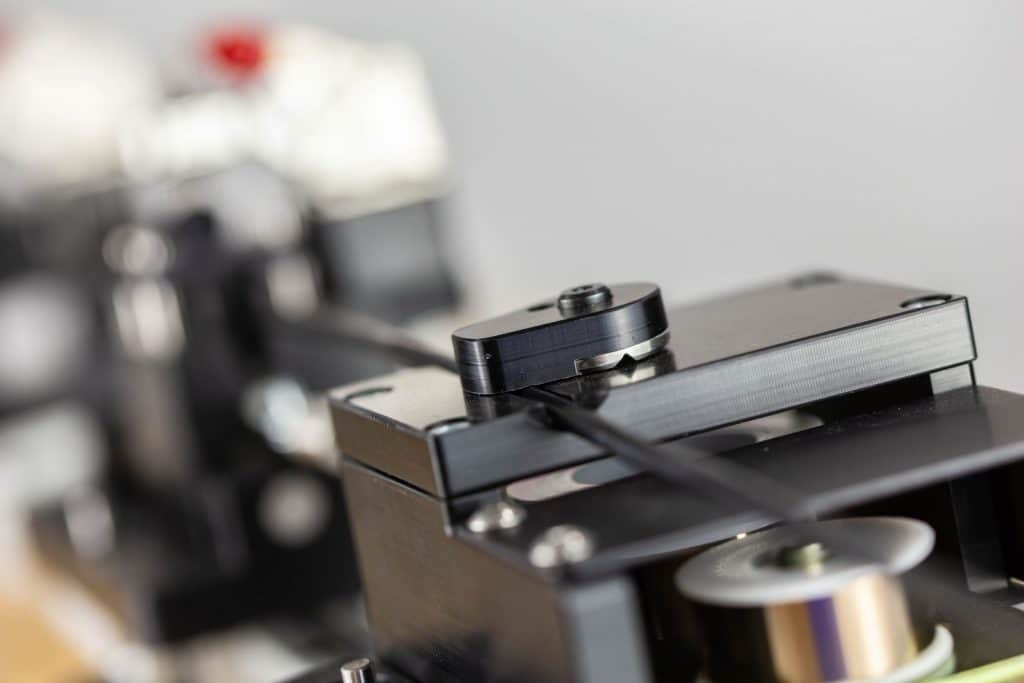
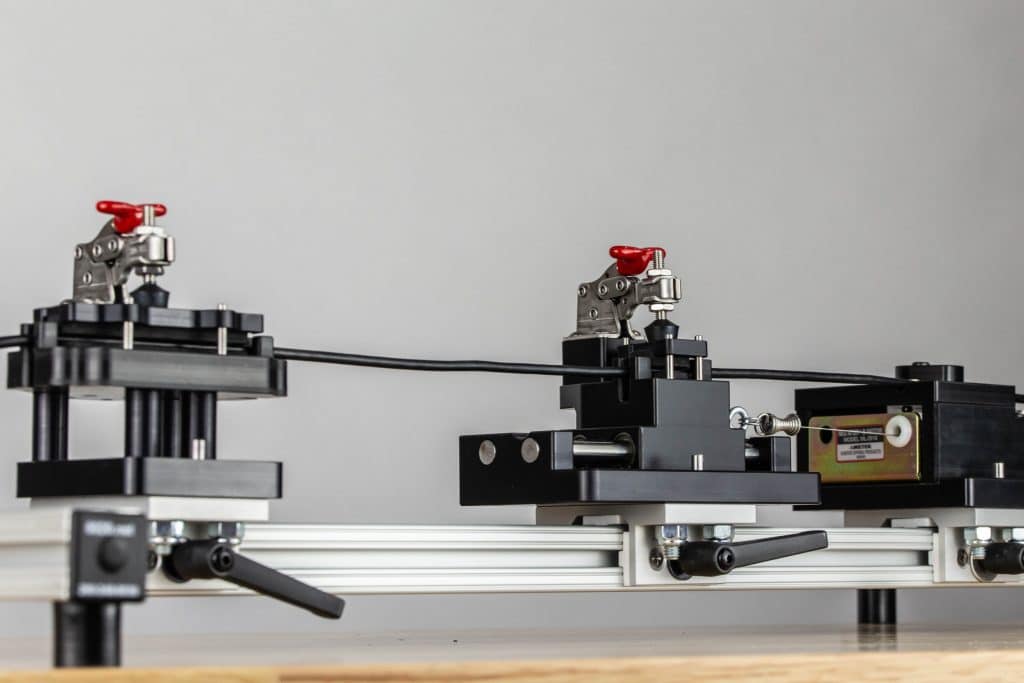
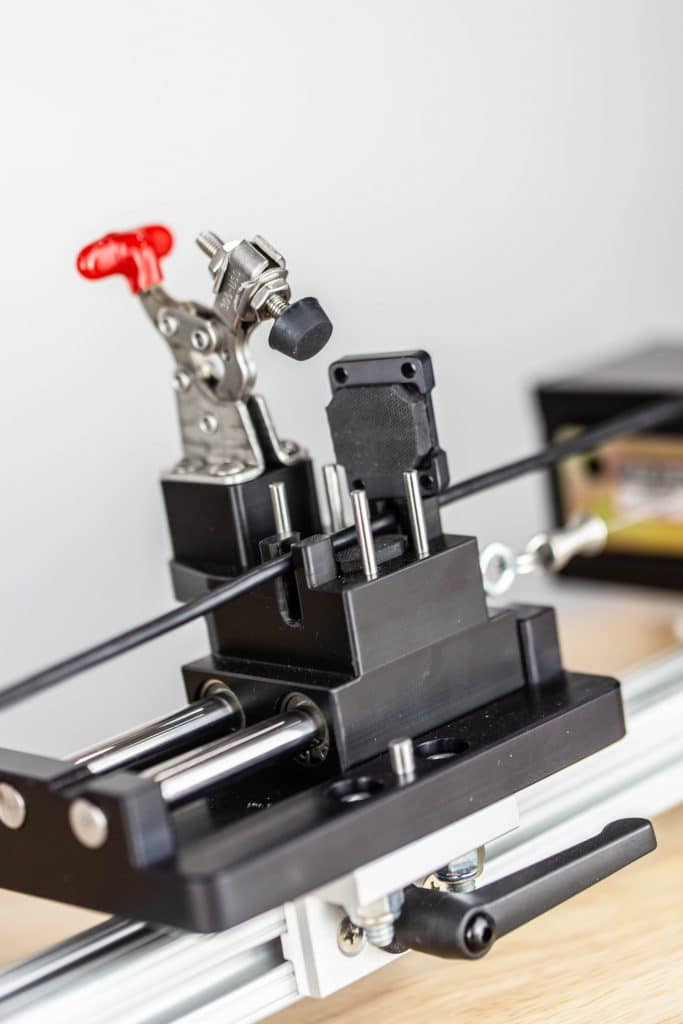
The three point bending fixture conforms to ASTM D790-17 & ASTM D7264/D7264M – 15 standards. Pipeline’s unique three point bend test setup is designed to hold the shaft under a light and constant axial tension at a set distance. A force gauge is then used to apply a load perpendicular to the shaft axis so that a force vs deflection curve can be generated. This data is vital to understanding the operational and safety characteristics of devices enabling engineering teams to compare and improve manufacturing process in a controllable fashion. The fixture was designed so it could be mounted to an Instron test stand and used in conjunction with Instron’s existing architecture.
Activities performed during this three point bending fixture project included: Preliminary Design, Internal Design review meetings, Detailed Design, multiple design review meetings with customer team, Final Design, Manufacturing, Assembly, Internal Test and Validation of Three Point Bend Test, Delivery, Customer Test/Validation/Measurement Systems Analysis
Need some test fixture design but don’t have the bandwidth or capability in house? Contact us!
